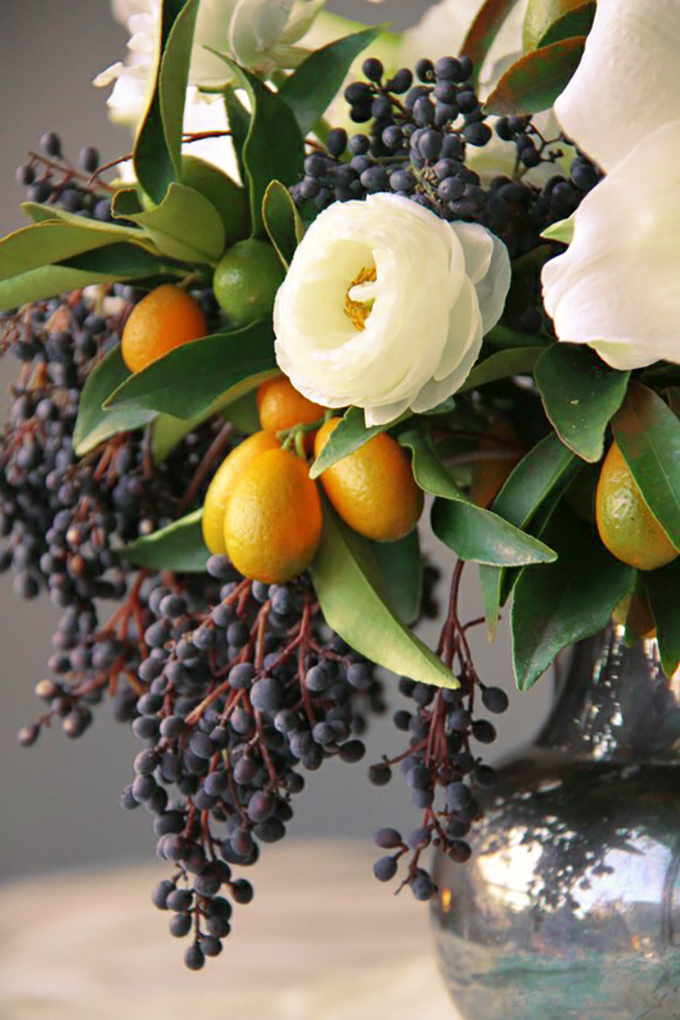
My kumquat tree in my backyard is ablaze with gorgeous orange fruits this time of year. So I couldn’t resist picking loads of them and arranging them in a weathered antique wood bowl. They are beautiful simply displayed, submerged in your favorite vase to accent a floral arrangement or, of course, to make marmalade. And that’s exactly what we did with them!
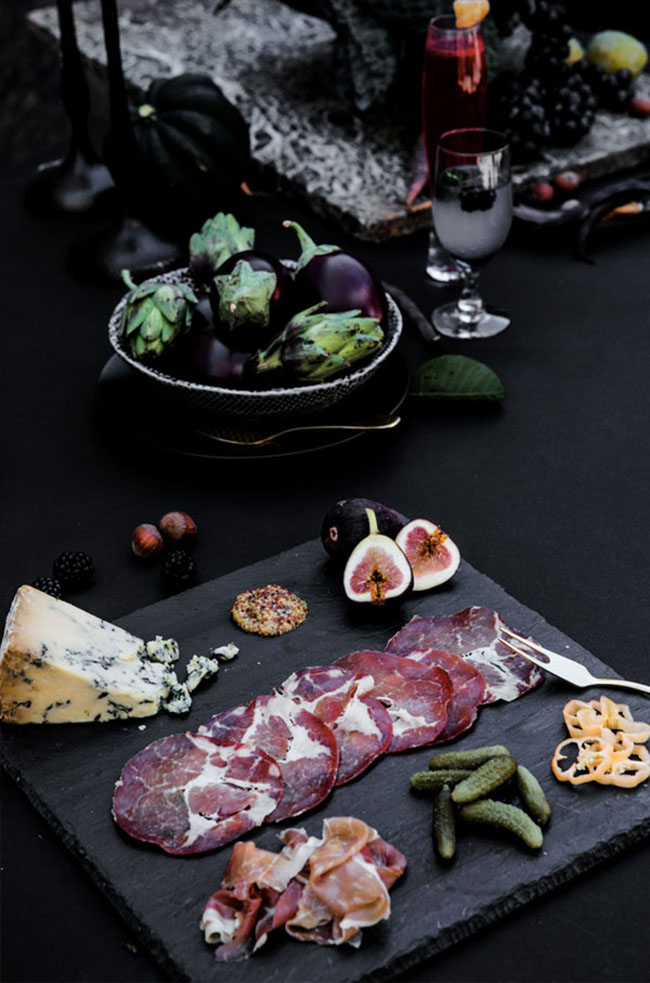
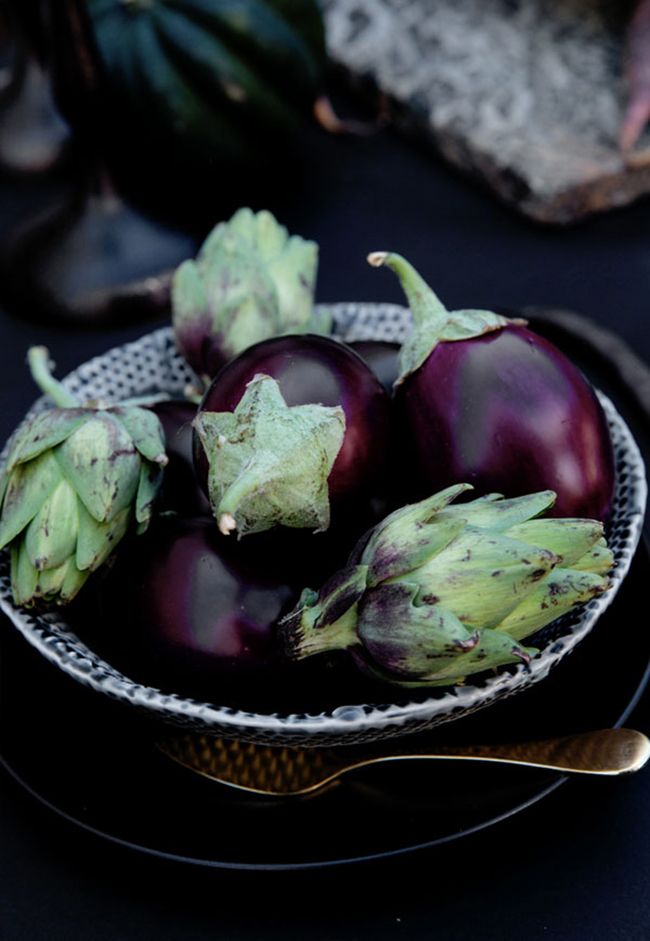
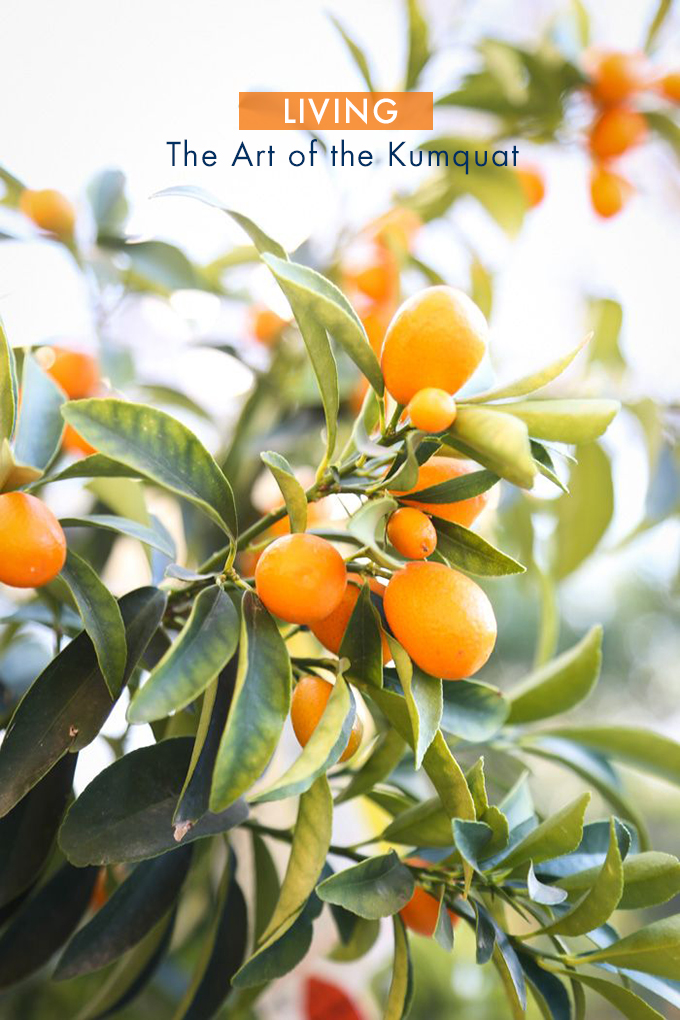 Design doesn’t have to be high-brow, it’s about the art of living. Step outside this week and see what treasures you can find in the garden to adorn your home. Something as simple as a bowl of beautiful orange kumquats can make quite the statement.
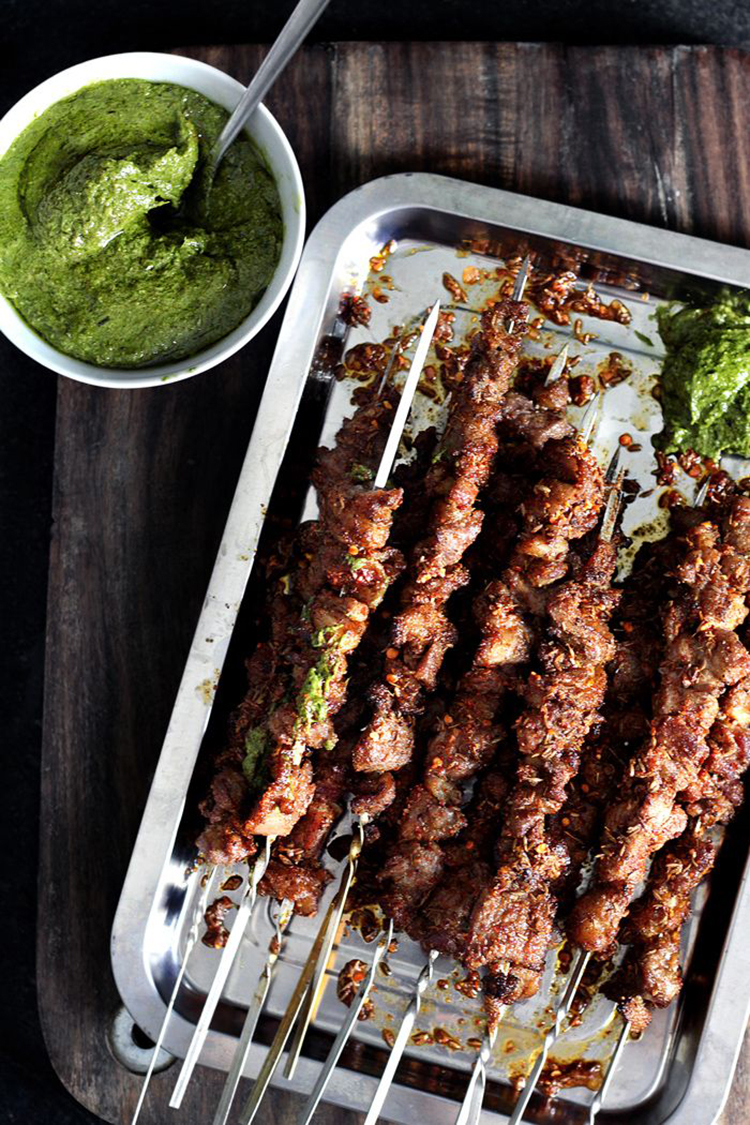
 And just in case you are in the culinary mood, here’s Ms. Madison’s recipe for Kumquat Marmalade:
 Photo Credits: Hither and Thither / Ruffled Blog / PBS Food Blog
Kumquat Marmalade -recipe via White on Rice
Makes about 24oz
1 lb. (455g) Kumquats
3/4 lb. (1 2/3c) (340g) Sugar
2 c (470ml) Water
Directions:
Day 1:
1. Slice the kumquats in half lengthwise. Over a bowl covered with a mesh strainer, squeeze the kumquats and rub back and forth between your fingers. This will help loosen the fruit segments from the rind. Remove segments from rind and set both aside.
2. After squeezing, wrap segments and seeds from the mesh strainers in cheesecloth. Slice kumquat rinds into thin strips. Combine cheesecloth bundle, rinds, and kumquat juice all into the same bowl, and add the 2 cups of water. Cover and set aside in refrigerator for at least 12 hours to help soften the kumquat rinds.
Day 2:
1. Put 5 metal spoons in a flat part of your freezer for testing the marmalade at the end of it’s cooking.
2. Put all of previous day’s contents (liquid, rinds, and cheesecloth bundle) into a medium saucepan. Add sugar.
3. Bring contents up to a boil over high heat. Reduce to medium high and boil for at least 45 minutes, but it may take longer depending on your heat, pan, and quantity of kumquats. Do not stir during the initial bubbling, but after it starts foaming, stir occasionally to prevent the marmalade from burning.
4. Test the marmalade. Remove it from the heat and put half a spoonful in one of the frozen spoons. Put the spoon back in the freezer for 3 minutes. Then remove and feel the bottom of the spoon. It should feel neither hot nor cold. If still warm continue freezing for another minute or so. Tip the spoon to see if the marmalade runs. If the top layer has set to a jelly consistency it is done. If it runs, continue cooking for another few minutes and test again.
5. When finished cooking, using a stainless steel spoon, skim off any surface foam. Let kumquat marmalade rest for 10 minutes. Pour marmalade into one jar. Wait for a moment to see if rinds float to the top. If so, let marmalade rest for another 5 minutes. If not, then pour kumquat marmalade into the rest of the jars and process according to manufacturer’s instructions.

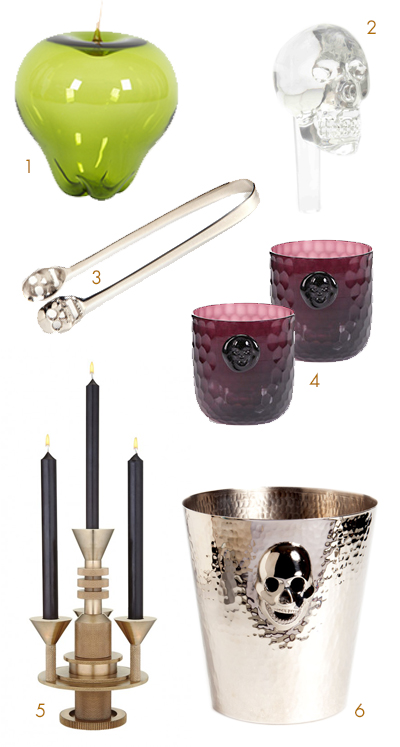 Halloween Table decor available at On Madison: 1/ Murano Glass Apple 2/ Glass Scull Stopper 3/ Scull ice tongs 4/ Scull tumblers 5/ Brass Candelabra 6/ Scull Ice Bucket